In this blog post, I want to provide a beginner-level introduction to Homebrew. When I first heard about Homebrew, it was a little bit difficult for me to understand what it actually is and why I would need it. Back then I was not familiar with Linux-based package managers either. So if you are familiar with these, you will be able to wrap your head around Homebrew very quickly, as it basically provides similar benefits.
Why should you consider using Homebrew?
Put simply, Homebrew is a package manager for macOS. It is available for Linux as well, but since Linux comes with a few package managers out of the box (like apt or yum), Homebrew is much more popular on macOS. As a package manager, Homebrew will download, install, upgrade, and remove software for you.
Before we dive any deeper, you may ask yourself why you should consider using Homebrew, as installing programs manually from the web is not very complicated at all. So before we start, here are some pretty good reasons why it is worth thinking about using Homebrew:
- You don’t have to search the web for the software you are looking for – you can manage everything right from your command line.
- No more need to download files from shady third-party websites.
- Homebrew will take care of updates and upgrades (almost automatically).
- You can look up information like descriptions and install numbers to make sure you install the right software.
- Homebrew will reject obscure software that does not fulfill certain requirements. So the risk of accidentally downloading malicious software is considerably lower. You can take a look at the requirements at https://docs.brew.sh/Acceptable-Formulae.
- Every package you install is cleanly installed into its own subfolder (Homebrew refers to these subfolders as “cellar”) in /usr/local/. Therefore there won’t be any stray files all over your system.
- You should always be careful before executing commands as the root user (admin) with sudo. Homebrew refuses to work using sudo.
- If you no longer need a program, Homebrew will take care of cleanly removing it from your system (including the necessary symlinks it may have created during installation).
Foundational Knowledge
What does a Package Manager do?
To better understand what a package manager is, try to think of software as source code that has to be stored somewhere. Most of the time it is stored in an online repository of some kind (think of it as a folder in a cloud storage).
You could go and search for this repository online and download it manually. At this point, you may either struggle with finding the right repository or with installing the software because you don’t have the corresponding dependencies installed.
This is where package managers come into play. Think of them as a tool that stores a list of thousands of online repositories. You can search for the program you are looking for and it will not only show you the way to the online repository but will also download the program and all the corresponding dependencies for you. If you install a program via a package manager you will instantly be able to use it – without any further struggle.
In addition to that, a package manager can also upgrade all your software to the latest version – almost automatically. No more need to install upgrades for every single program on your computer by hand.
Please note that this explanation only refers to high-level package managers. There is another kind, called low-level package managers, which will only help you install programs. You’ll still have to find and download them by yourself as well as take care of regular upgrades. If you want to learn more about package managers, take a look at this article: https://www.tecmint.com/linux-package-management/
How does Homebrew work?
As you now know more about package managers in general, let’s dive a little deeper into Homebrew and the things you need to know in order to manage your software packages using it.
First, try to sort programs into two different categories: Command-line utilities and native apps.
Command-line utilities are the software you run within your terminal to execute specific commands. A good example is the version control software “Git” (or – after you’ve installed it – Homebrew).
Native apps are applications that were specifically designed to run on a particular operating system. Usually, they come with a Graphical User Interface (GUI). A good example of native apps are programs like Google Chrome or GIMP.
At this point, I would like to make you familiar with some of the Homebrew terminology. Homebrew refers to software like command-line utilities as “formulas” and to software like native apps as “casks”. This differentiation will help you later when it comes to installing software on your machine.
Getting Started with Homebrew
Now we have set the foundational knowledge that will help you working with Homebrew. So let’s get started with installing some programs by opening your Terminal.
The first program that we will have to install in order to use Homebrew is, of course, Homebrew itself. A look at the official homepage provides you with the necessary command:
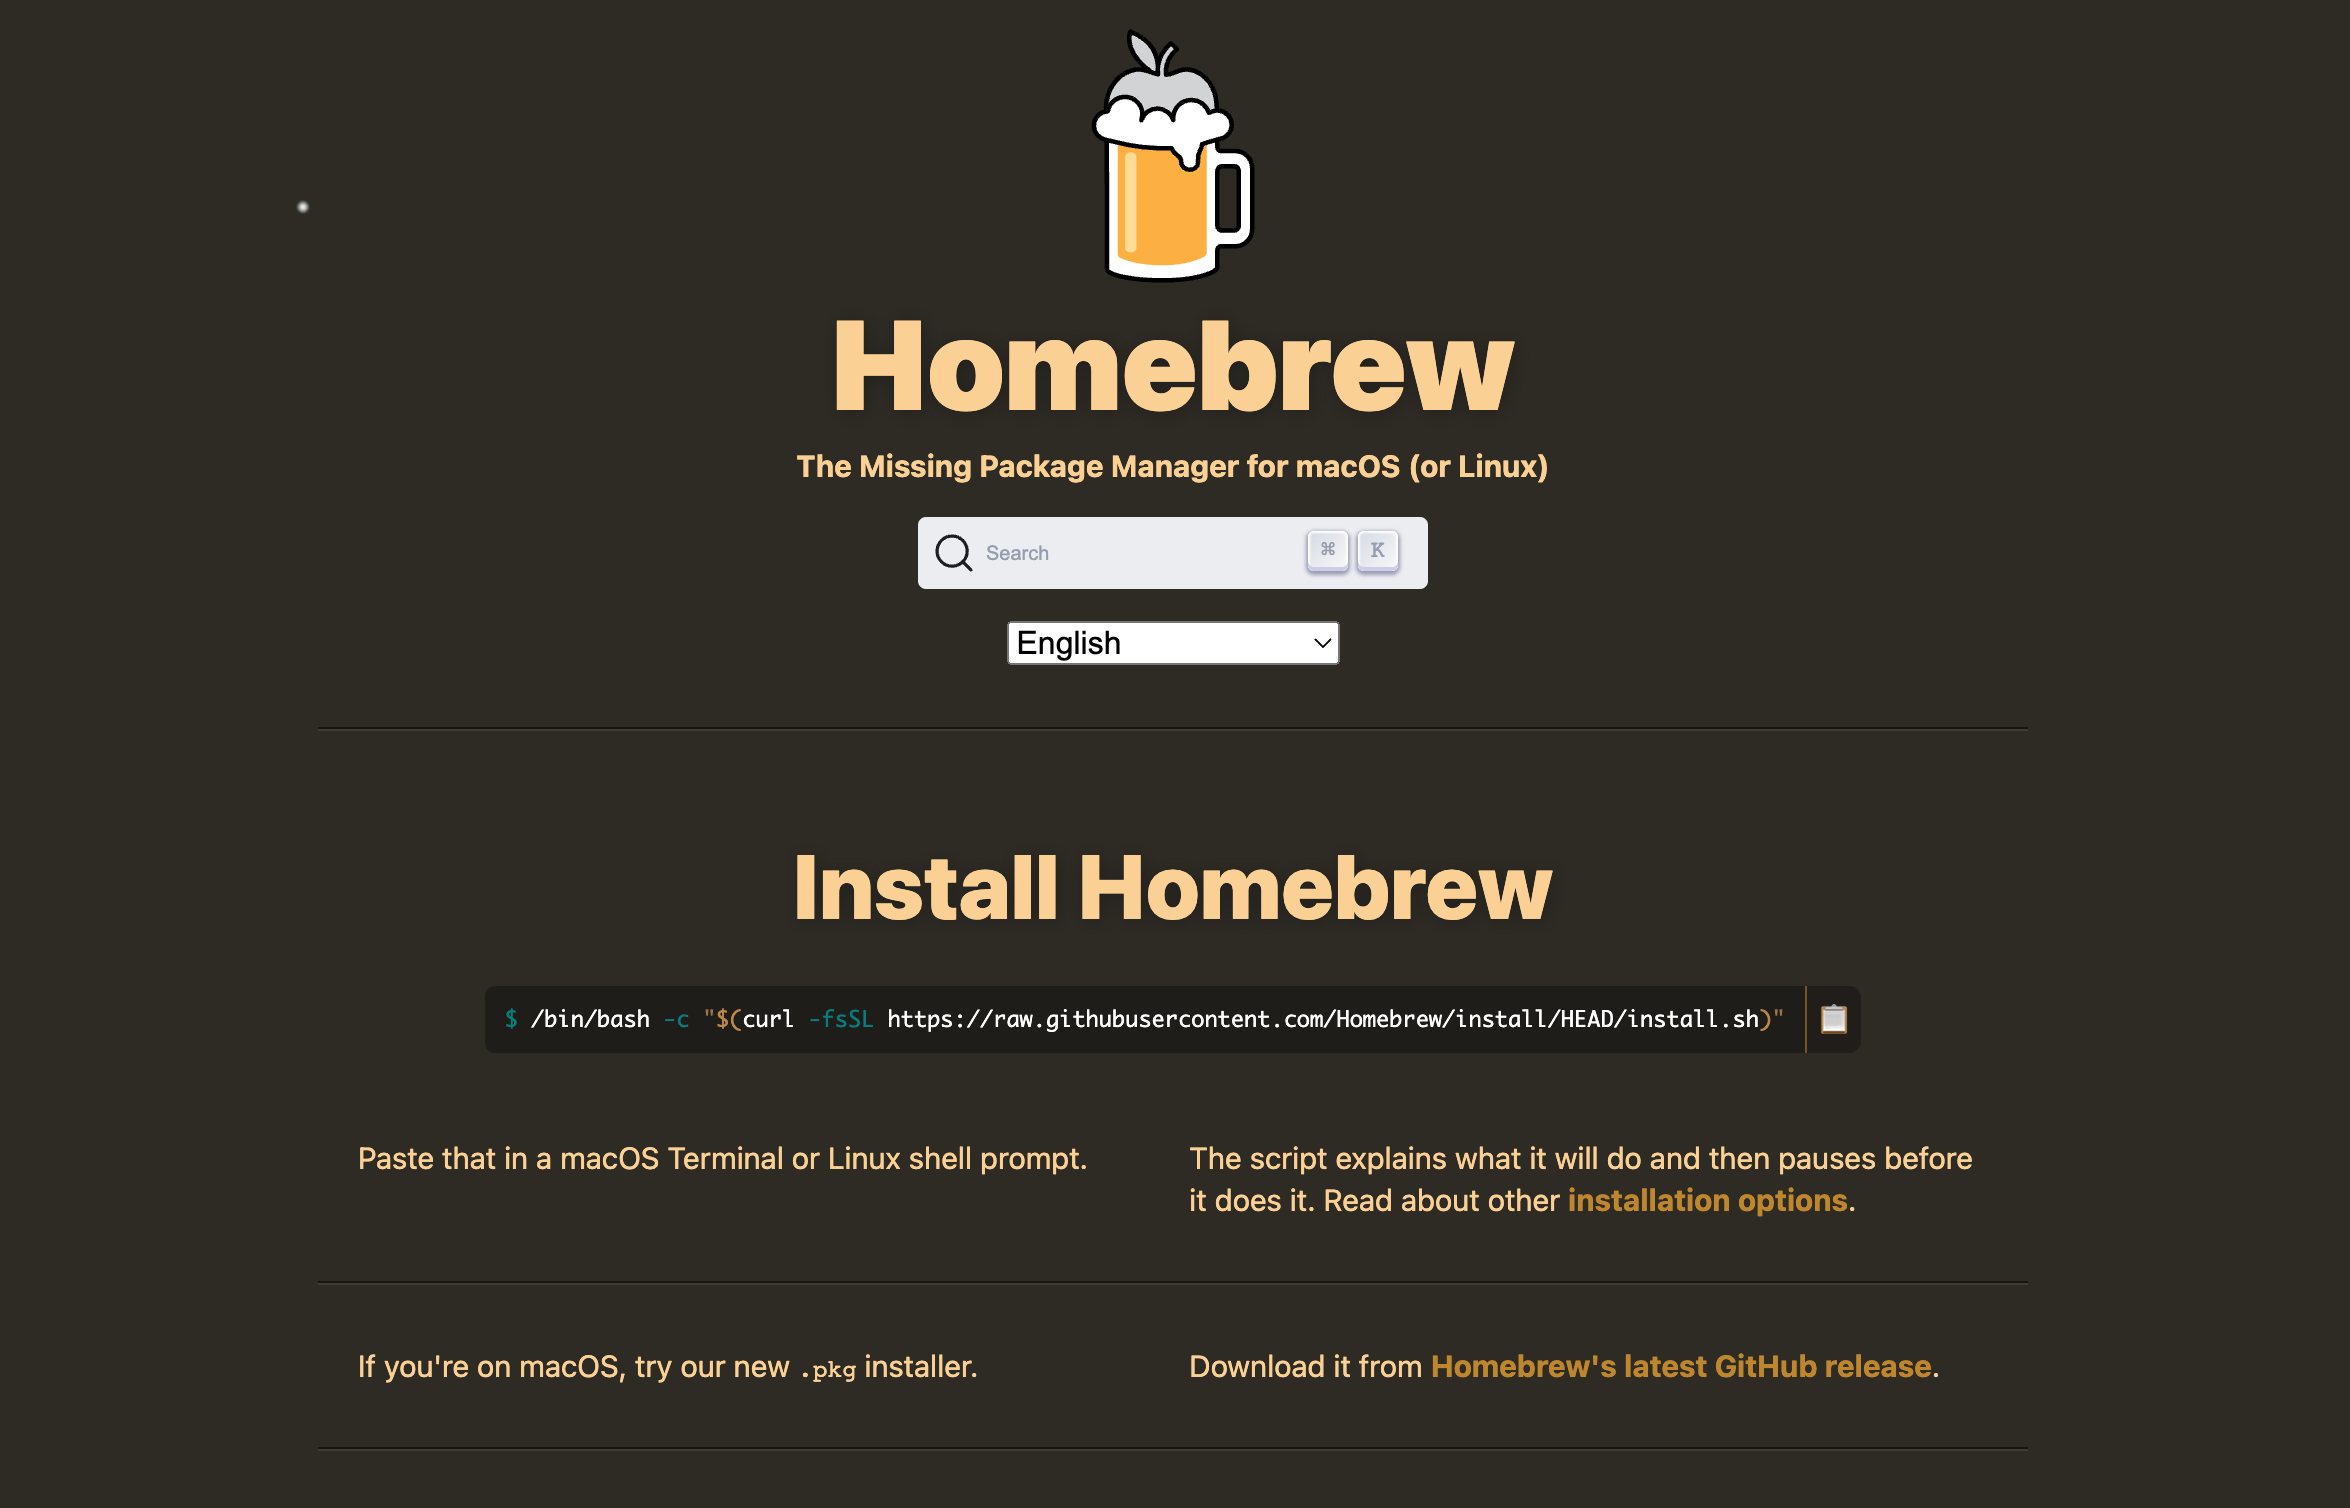
/bin/bash -c "$(curl -fsSL https://raw.githubusercontent.com/Homebrew/install/HEAD/install.sh)"
If you are hesitating to simply copy this line into your terminal and blindly execute it, you are just right in doing so. You should never blindly execute commands in your terminal without knowing what they do. So, let’s unravel what this line actually does:
/bin/bash We are going to download a bash script that will install Homebrew for us. This part of the line simply tells the terminal to start a bash shell to execute the bash script.
-c Tells the shell to read commands from a string (a string simply refers to characters between quotes).
" Marks the beginning of the string.
$ Replaces the command inside the following parentheses with the output of the command.
( Opening parenthesis: within the parentheses will be a curl command. The $ just before the opening parenthesis will execute this curl command and replace the command itself with the output it produces).
curl A tool to transfer data from a server. In this case, it downloads the shell script from the given link for us.
- Tells the curl command to consider the following options (embodied by letters).
f Fail silently.
s Silent or quiet mode. Don’t show progress meter or error messages.
S When used with -s, –silent, it makes curl show an error message if it fails.
L (HTTP) If the server reports that the requested page has moved to a different location (indicated with a Location: header and a 3XX response code), this option will make curl redo the request on the new place.
[Link] Link to the script we want to download.
) Closing parenthesis.
" Marks the ending of the string.
Altogether this will install Homebrew for us. So the first step is done. Now we can start working with Homebrew. The syntax is very easy. You start every command in your terminal with the syntax brew.
First of all, we will check if everything is up-to-date with the following command:
$ brew update
This command will not upgrade any of our installed software. It will simply take a look at all the repositories that Homebrew provides to check if there are any updates to them.
To upgrade our installed software, we will have to enter another command that will then download any changes in the repositories of software running on our machine:
$ brew upgrade
You should do brew update and brew upgrade on a regular basis to keep your software up-to-date. You can even think about automating this task.
Now let’s install some software. We will start with installing the version control system Git. Git doesn’t come with a GUI (Graphical User Interface), therefore we can consider it as a command-line utility which means we are looking for a formula.
First, let’s search for the program we want to install, to see if it’s available:
$ brew search git
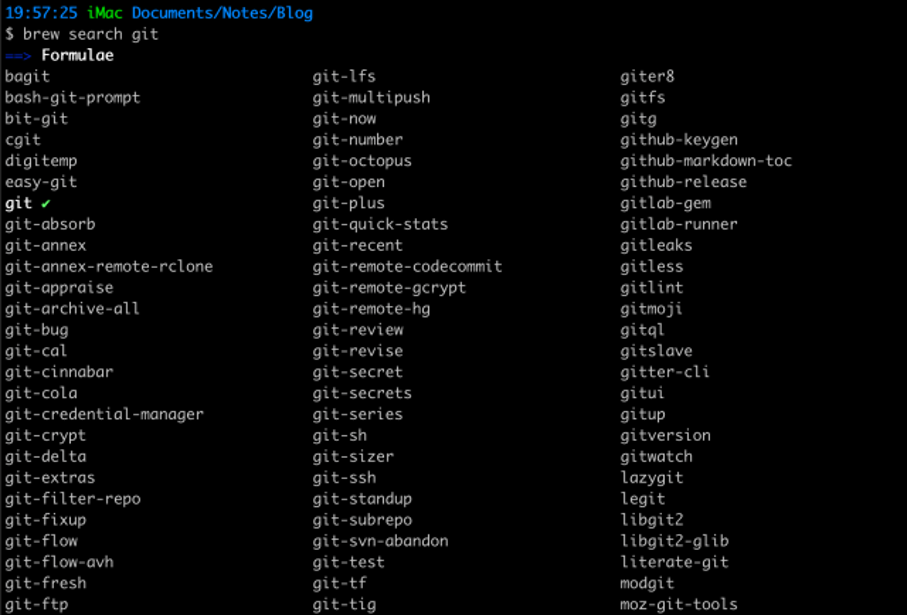
The result shows us a lot of programs, all of which contain “git” in their names. As we know we are looking for a formula, and we can focus on this category. When we have found what we were looking for, we can take a look at a description of the software, just to be sure.
$ brew info git
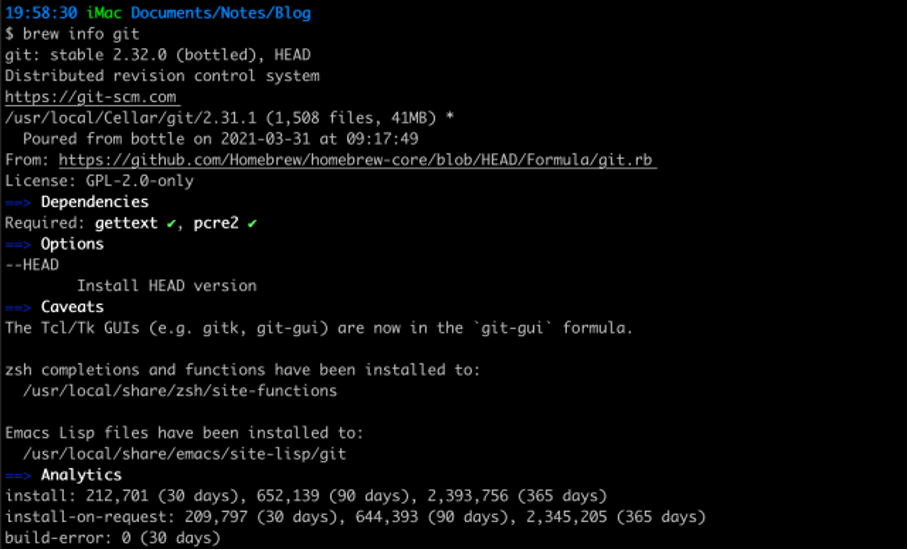
It tells us, that Git is a distributed revision control system with more than 200.000 downloads within the last 30 days. So we are good to go. Let’s download and install it.
$ brew install git
This command will install Git and all the corresponding dependencies that we might need in order to use (G)it.
That’s it. We’ve just installed our first program using Homebrew! 🥳
To make sure the installation worked, we can check if Git is available on our machine:
$ git --version

Now let’s install one more. This time we are going for Google Chrome. As a program with a GUI, it is rather a native app than a command-line utility. So we are looking for a cask. As we already know, we can specify our search:
$ brew search --cask chrome
The --cask switch will only show us related casks.

The results showed us that the right name of the cask is actually google-chrome. So we can once more check for further details, just to be sure we are going to get the right one:
$ brew info --cask google-chrome
It’s a web browser – so it seems we’ve got the right one. Let’s install it:
$ brew install --cask google-chrome
Great. It’s installed. In case you wondered why no annoying installing wizard popped up: that’s another benefit of Homebrew. It simply installs what we want. We don’t have to care about anything else.
After the installation has finished, you can open Google Chrome. For example by opening the Spotlight search on your Mac (Command + Space). Type “chrome” and press Enter. Et voilà.
That’s how easy it is to install software on your computer with Homebrew.
If you ever get stuck with Homebrew, you have two options to get quick help (besides the obvious choice to go on Google and search for a solution).
First of all, you can use the brew help command for a quick look at your options. You can either run it solo or attach a particular command about which you want some more information.
Solo:
$ brew help
Or if you want help about the install command in particular:
$ brew help install
Your second option is to look at the man-page of Homebrew, which will give you a lot of additional information. You can access it with the following terminal command:
$ man brew
Basically, this is all you need to get started with Homebrew. There is much more to dig into when you want to access more advanced features, like installing previous versions of programs or even making your own formulas, but this is out of the scope of this post. If you are eager to learn more, I highly recommend you to take a look at the Homebrew documentation on their official homepage: www.brew.sh.